(4) Hexo-部屬部落格
Gihub Pages
本文會使用 Github Pages ,來部屬我們的部落格。
創建repository
首先來到Gihub創建一個新的 repository, 這個repository會用來放我們的部落格
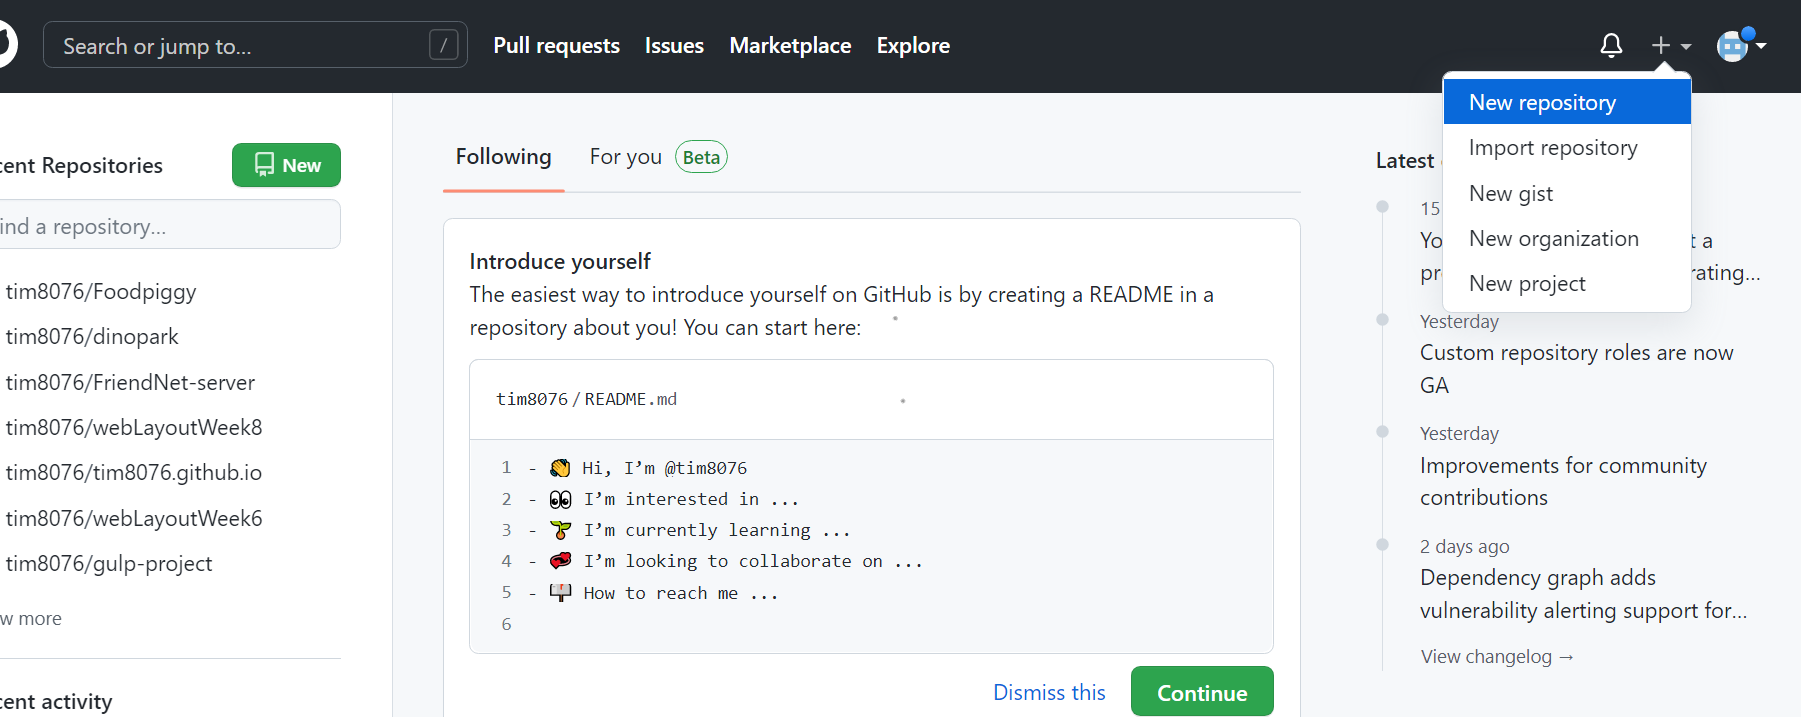
點選 create new repository來創建我們的儲存庫,這邊要先說明每個Github帳號都有一個主儲存庫,網址會呈現如下圖 new 的網址,由你的 github名稱 + github.io 組成。
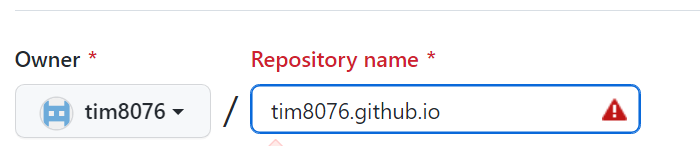
每個Github帳號的主儲存庫只有一個,通常會用來放最重要的內容,這邊就用來放我們的部落格
在創建時儲存庫時,可以將主儲存庫的網址填入
建立好後來到這個畫面
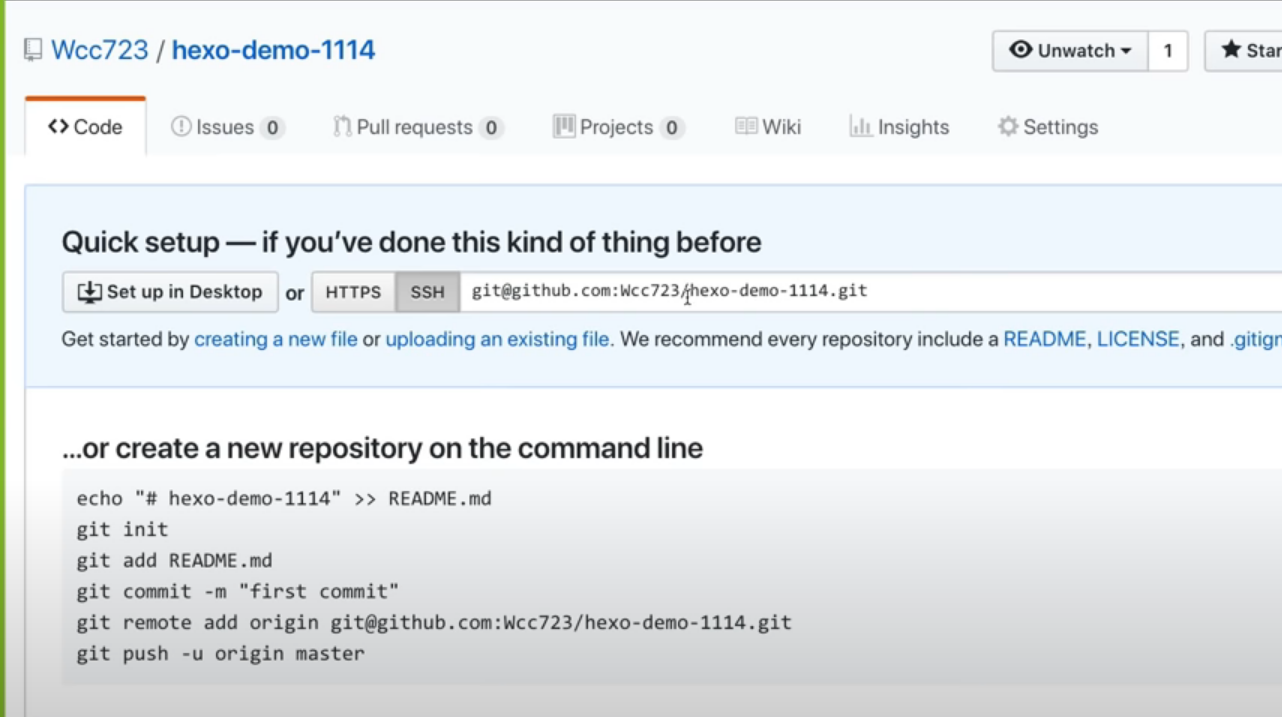
此時回到Vscode,開啟一個新的專案,並輸入以下指令,將git專案建立好後推到github上
1 | git init |
專案推上 github 後,開啟專案底下的 _config.yml 檔案,找到deploy項目,並將內容修改如下
1 | deploy: |
這邊type選用git,repo則貼上你的儲存庫的網址,branch選擇 main
部屬部落格
當完成以上步驟後,要先安裝 hexo 自動部屬的套件
1 | npm install hexo-deployer-git --save |
安裝完後,先使用hexo clean 清除暫存檔,再用 hexo g 來編譯靜態檔,最後用 hexo d來將網站部署上github
部屬完後輸入你的 githubpages網址,如 https://tim8076.github.io/,就可以看到部屬好的部落格了。